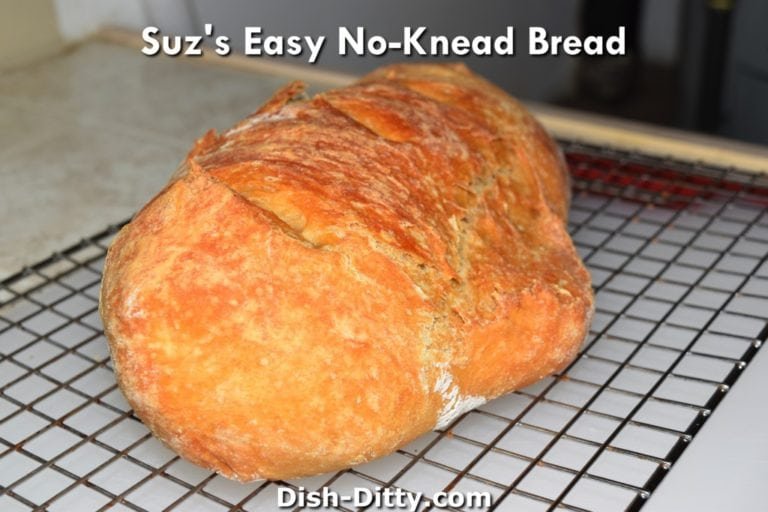
Suz’s Easy No-Knead Bread Recipe is exactly what it says. It’s a wonderful bread recipe that does not need any kneading and is super easy and clean to make.

Whisk the two flours together. If using cake yeast, rub it into the flour, then whisk in the salt. Add liquid and stir by hand into a shaggy dough, using your hand to pull in the last bits of flour. Cover with plastic wrap and refrigerate at least 8 hours or overnight.
2 hours ahead of baking: take dough out of fridge and scoop out (I like using a plastic scraper sort of like a bench scraper) onto a lightly floured working surface. Knead/fold over on itself 10-20 times, then shape.
For a batard (fat oblong) shape, stretch dough into a rectangle about 2/3 the length of the pan you will cook it in. Fold the top third lengthwise to the middle, press with fingers along center where top meets main piece of dough. Then fold bottom third lengthwise to middle, pressing in to the center again. Then bring the top to the bottom lengthwise and pinch together (essentially the same shaping technique as for baguettes, only larger dough mass). Roll your cigar shape back and forth a couple times and let it rest for a few minutes while you prepare the pan.
I use triple clad stainless steel pots to bake this bread because dad doesn’t have cast iron skillets/Dutch oven. For the batard, use a 12 qt soup pot. For a round loaf, use a 6 qt soup pot. Both work well.
Cut a piece of parchment paper big enough to have a bit that folds outside the pot. Spray it with vegetable spray or lightly coat with olive oil. Put the paper into the pot, and lower your bread dough into it, centering it in the pot. Put the lid on (must be a tight fit!) and set in a warm, draft-free place for 2-3 hours, until dough has doubled in size.
Open the lid of the pot and lightly spray the top of the dough with water. Makes a huge difference in the crust! Use kitchen scissors (seriously!) to cut 3-5 slashes in the dough for steam release. Place the pot, with lid on, in a cold oven. (this is important to prevent a burned bottom on the bread). Turn oven on to 425 Fahrenheit. At 30 minutes, take the lid off. Bake 25-30 more minutes until top is golden brown. Internal temperature should be 205-210. Using an instant thermometer is the most accurate, but when the top is golden brown, the bread is usually done.
Use parchment to pull the bread out and cool on a rack. Try to resist the temptation to cut into it for at least an hour (it will still be warm then, but the inside will have finished cooking and the texture will be much better, I promise!). Enjoy!!!!
My sister Suz has researched, experimented, tested, baked, baked and baked dozens and dozens of loaves of home made bread and has created this recipe from all of those experiments. Her experiments were done to try and make a bread that my Dad would like that would remind him of one from his childhood that his Grandmother (our great-Grandmother) made.
This recipe may not be the exact one that my great-Grandmother made, but my Dad was very happy with this recipe. Not only is it a delicious rustic bread, but it really was one of the few breads that made very little mess. And that is something that my Dad really appreciates.
So Thank you Big Sis for making this recipe for my Dad. And Thank you for being the star in our first video!
